Guides
Florida Roof Inspection Checklist: What Gets Checked
2026-09-08 · Noland's Roofing
A Florida roof inspection should check the roof covering, flashing, penetrations, drainage, and accessible signs of leaks or damage underneath. You should leave knowing what needs attention, what was inaccessible, and what the next step costs. This checklist helps you ask useful questions before authorizing work on your home.
An afternoon storm in Clermont, Orange City, or Bradenton can make a roof concern feel urgent. Bring the stain photos and tell us when it happens. You do not need to diagnose the problem before you call. You do need an explanation you can understand before you approve a repair.
When should you schedule a roof inspection?
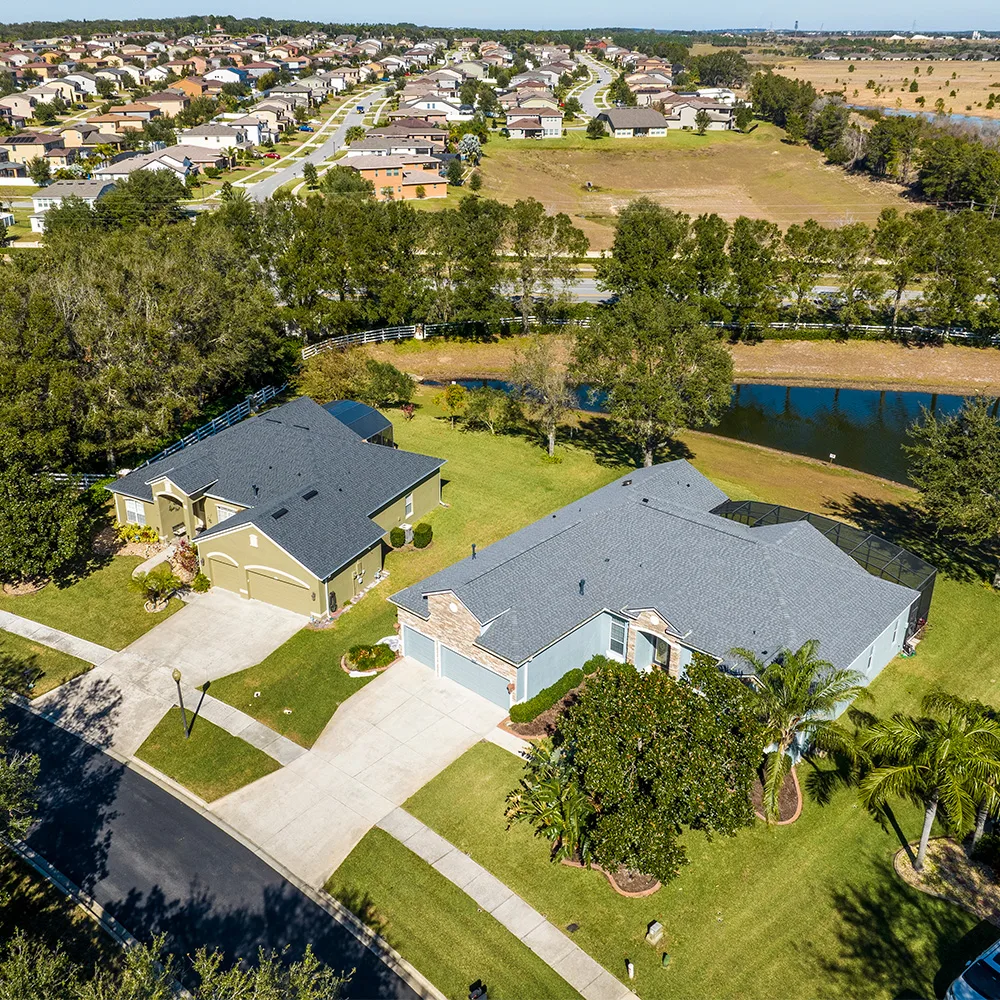
Schedule an inspection when you notice a new ceiling stain, active dripping, displaced roofing, or damage after a storm. A visit also makes sense before a home purchase or when a carrier requests roof documentation. Tell the office why you need the inspection so the appointment matches the question you need answered.
For routine planning, ask your roofer what inspection schedule fits your roof's material, condition, and history. A roof with repeated leaks needs a different conversation from one with no known problems. Keep previous repair invoices and photographs together so the next visit starts with useful information.
Florida's afternoon thunderstorms matter even when no named storm is approaching. Follow the National Weather Service’s lightning guidance: if you hear thunder, go indoors; wait for safe conditions before walking around outside to photograph damage. Roof access and inspection timing depend on weather, so being available for contact does not mean a crew can safely climb immediately.
For preparations before a forecast storm, use our Florida hurricane roof-prep guide. Here, the focus is the inspection itself: what gets checked and what you should learn from it.
What can you check safely before the roofer arrives?
From the ground and inside your home, look for changes you can photograph without climbing: ceiling stains, visible displaced roofing, damaged gutters, and debris. Record when a leak appears and which room it affects. Leave roof walking, lifting materials, and investigating concealed areas to a professional with appropriate access and equipment.
Take one wider photo showing the room or roof area, then a closer view of the concern. Keep the original files and note the date. If water appears only during rain from a particular direction, write that down. A dry ceiling on appointment day does not erase the earlier leak.
If water is entering, move belongings only when you can do so safely. Keep clear of sagging ceilings and water near electrical equipment. Tell the office about those conditions when you call. Avoid entering an attic just to complete a checklist; report what you can observe from a safe, accessible location.
Have these details ready:
- Your property address and the best number for scheduling.
- The approximate roof installation date, if known.
- Previous repairs, recurring leak locations, and any available invoices.
- The carrier's exact request, if paperwork prompted the visit.
- Any locked gates, pets, or access restrictions.
What should a professional roof inspection check?
Ask the roofer to explain the condition of the covering, roof edges, valleys, flashing, and penetrations, plus drainage and accessible signs of moisture underneath. The inspection should connect visible findings to your concern. It should also identify anything that could not be inspected safely or without removing part of the roof.
Use this checklist during the findings discussion. It is a guide to questions, not a promise that every component is exposed or accessible on every house.
| Area | What to ask about | Useful documentation |
|---|---|---|
| Roof covering | Missing, broken, displaced, or visibly deteriorated material | Photos locating the affected sections |
| Valleys and roof transitions | Debris, visible damage, and how water leaves the area | A wider view plus a detail photo |
| Flashing | Condition where the roof meets walls or other features | Photos of the joint and any visible defect |
| Pipes, vents, and skylights | Condition of the surrounding flashing and seals | Identification of the specific penetration |
| Roof edges and gutters | Damaged edges, loose sections, debris, or overflow concerns | Photos showing the drainage route |
| Accessible underside or interior | Staining, visible moisture, and areas needing further investigation | Location notes and inspection limitations |
GAF explains how flashing directs water away from vulnerable roof joints. Flashing deserves its own question. It helps direct water around joints and roof penetrations, including walls, pipes, and skylights. A problem there can allow water inside even when nearby shingles look intact. Ask the roofer to show the suspected entry point and explain the evidence behind that diagnosis.
Avoid treating a single photo as the whole inspection. A close-up should come with enough context to identify its location and explain why it matters to your roof.
Does the checklist change for shingle, tile, or metal?
The main questions stay consistent across materials: what condition is the covering in, where could water enter, and what needs further investigation? The details change with the roof system. Ask how the material affects access, which components are visible, and whether the proposed repair addresses the layers beneath the surface.
For shingles, ask the roofer to identify affected areas and explain whether the surrounding material can support the proposed repair. A recommendation should describe the problem's extent rather than rely on the installation date alone.
For tile, ask what is known about the underlayment beneath it and what remains concealed. An intact tile surface does not establish the condition of every layer below. Ask whether lifting material is necessary, whether it is included, and what happens if further damage becomes visible.
For metal, have the roofer identify the system before discussing seams, attachments, or penetrations. Standing-seam and exposed-fastener roofs have different details. Ask which specific component needs attention rather than accepting a recommendation to coat or seal everything without an explanation.
If the discussion turns to changing materials, raise HOA requirements early. A switch to tile also needs a structural suitability review because weight matters. Keep those decisions separate from the initial question of what is happening with your existing roof.
Is this the same as a four-point or wind-mitigation inspection?
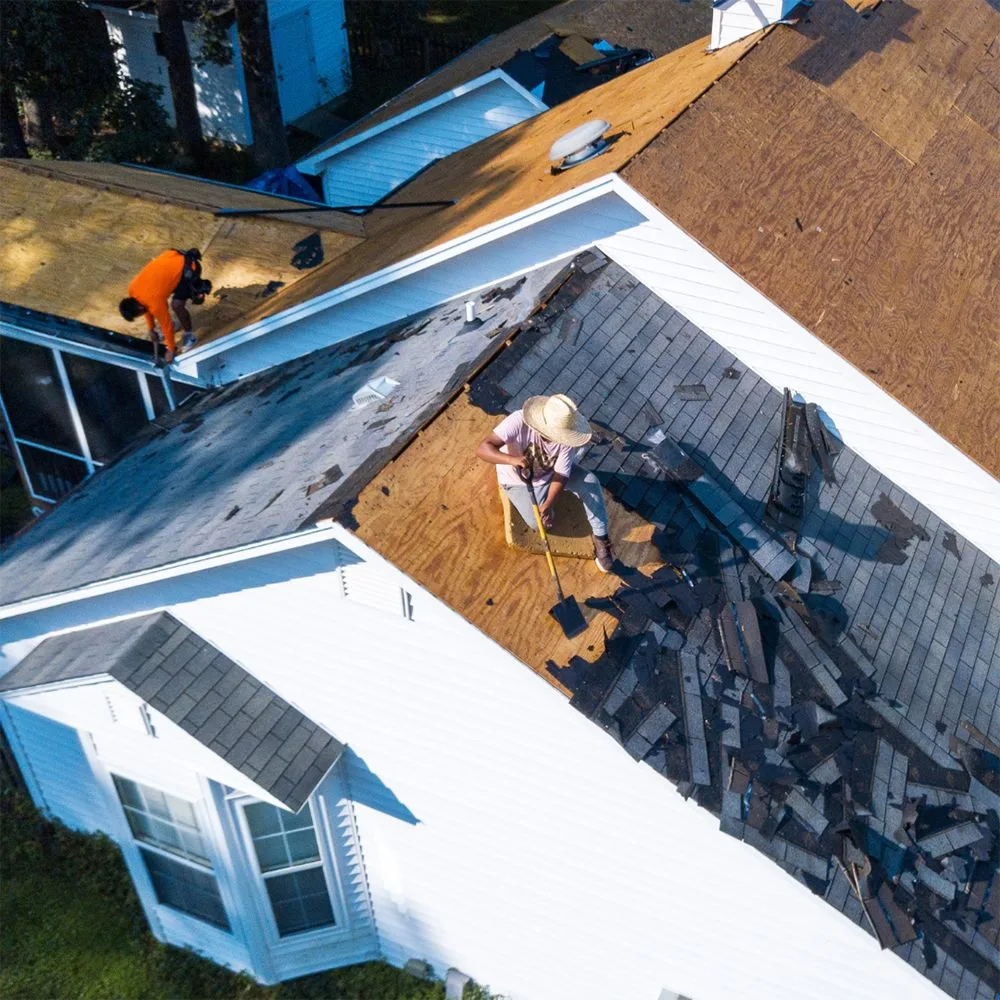
A roofing condition visit, a four-point inspection, and a wind-mitigation inspection serve different purposes. A four-point report addresses roofing, electrical, plumbing, and heating or cooling systems. A wind-mitigation inspection documents qualifying protective features. If a carrier requested paperwork, confirm the required form and inspector qualifications before booking the appointment.
The Florida Department of Financial Services distinguishes these inspection types in its homeowner guidance. A roofing repair estimate by itself does not establish that a carrier's reporting requirement has been satisfied. Send the office the actual request rather than relying on the phrase “roof inspection.”
Ask your agent which current form applies to your situation and who may complete it. Requirements can differ between carriers. Sharing that request before the appointment helps you confirm that you are arranging the right visit.
Noland's offers a free roof inspection with no obligation. Confirm separately whether you need a specialized report and whether the appointment includes it. Do not assume the free inspection includes every form requested for a home purchase or policy review. Coverage decisions and any premium credits remain with the carrier.
What should you receive after the inspection?
Ask for a plain-language explanation of the findings, photos that identify the affected areas, and a clear description of any recommended work. You should also know what was inaccessible or uncertain. Before approving repairs, request a written scope showing what is included and how additional discoveries would be handled.
A useful findings conversation answers practical questions:
- Where is the problem, and what evidence supports the diagnosis?
- Is there an immediate protection need, a planned repair, or something to monitor?
- What work is proposed, and which materials or components are involved?
- What remains unknown until materials are removed?
- Who will explain and price additional work before you authorize it?
Ask about permitting before work starts. The Florida Building Code and your local building department's requirements apply to the proposed work; the right answer depends on the address and scope. If someone cites the 25% rule as a reason you must replace the roof, ask them to explain the applicable requirement and support it.
Keep the photos, scope, and invoices with your home records. Documentation of observed damage can help you explain what happened to your carrier. It does not guarantee that a claim will be approved.
How does an inspection lead to repair or replacement?
An inspection should establish the extent of the problem before you compare repair and replacement. Ask whether the issue is confined to one area, whether surrounding materials remain serviceable, and what is known about concealed damage. The recommendation should explain the proposed scope and the uncertainties that could change it.
For a fuller discussion of that decision, read how we assess roof repair versus replacement in Florida. You can also use our guide to hiring a Florida roofer to check credentials and compare written proposals.
If replacement is appropriate, Noland's published asphalt-shingle rate is $3.25 per square foot of effective roof area: measured roof area plus a 15% waste factor. A roof with 3,300 effective square feet prices at $10,725 at that rate. The waste allowance is already included in “effective”; do not add it again.
That is one published shingle rate, with no tiers. Tile, metal, and commercial systems price differently. The online estimate is preliminary; an inspection confirms conditions and scope, and your signed written proposal confirms the final agreed work and price. For more context, see our Central Florida roof-cost guide.
Common questions about Florida roof inspections
The most useful inspection answers are specific to your house and your reason for calling. Before the appointment, clarify the cost, access, documentation, and next steps. These questions can help you avoid confusing a roof-condition visit with a specialized report or treating an initial observation as a final diagnosis.
Is Noland's roof inspection free?
Yes. Noland's offers a free roof inspection with no obligation. If you need a particular carrier or home-purchase report, confirm its availability and any separate requirements when scheduling.
Does the roofer have to walk every part of the roof?
Access depends on weather, roof condition, and the system involved. Ask which areas were inspected, how they were viewed, and which areas could not be assessed safely.
Can a roof inspection find every hidden problem?
No. Materials can conceal conditions underneath. Ask what the roofer observed directly, what they suspect, and whether additional investigation requires opening part of the roof.
How long does a roof inspection take?
Timing depends on the size and complexity of the roof, access, and the reason for the visit. Ask for an appointment window when scheduling rather than relying on a fixed duration for every house.
Does a ceiling stain mean I need a new roof?
A stain needs investigation; it does not establish replacement scope. Ask the roofer to explain the source and extent of the problem before deciding on a repair or replacement.
Your next step: get the roof checked, then decide
Use the checklist to leave with three things: an understandable explanation, documented findings, and a clear next step. You should know what needs attention and what remains uncertain. Noland's serves homeowners from Clermont, Orange City, and Bradenton, with free inspections scheduled through the office that covers your property address.
For preliminary shingle-replacement pricing, see your roof price on screen. If you have a leak or need an inspection first, call:
- Clermont headquarters: (352) 242-4322
- Orange City: (386) 456-6500
- Bradenton: (941) 909-2525
We're open 24 hours, seven days a week for contact; inspections are scheduled. Tell us what's happening, and we'll help you arrange the next step. No pressure. No discount games.
Want the real number for your roof?
Type your address — we measure your roof from satellite imagery and show you a real price on screen. Free, before anyone calls you.
Get my priceWant Noland’s answers first?
Add us as a preferred source and Google will highlight our roofing guides for you in Search and AI results.